Last Saturday, a landrover full of us drove to a lady's home here in Conakry where we were walked through the process of how Batiks are made. It was a privilege to see the inner workings of a successful business here in Guinea - and to get to make something of my own to remember this special country.
Thought the pictures and experience were worth sharing:
.jpg) |
| These Batiks were hanging up to dry when we arrived. Just a small sample of the colors & patterns. |
.jpg) |
| These are smaller pieces drying on the ground. |
.jpg) |
| Our host, Aminata, explaining the process of making a Batik and the different methods and styles. |
The gist of batik making (according to me) is that you start with a piece of cloth. Then,you pick out the stamp(s) that you'd like to use. After that, you stamp the patterns onto the cloth with hot wax. After the wax dries, you dye the fabric in the color of your choice and let that dry. After it dries, the fabric is rinsed out and the color is set. If you're feeling super industrious, the last step is to iron the batik and make something useful out of it.
.jpg) |
| Notebooks that held examples of all the different stamps that we could choose from. |
.jpg) |
| Some of the stamps. They are suprisingly lighter than one might think. |
.jpg) |
| The stamps I chose. |
 |
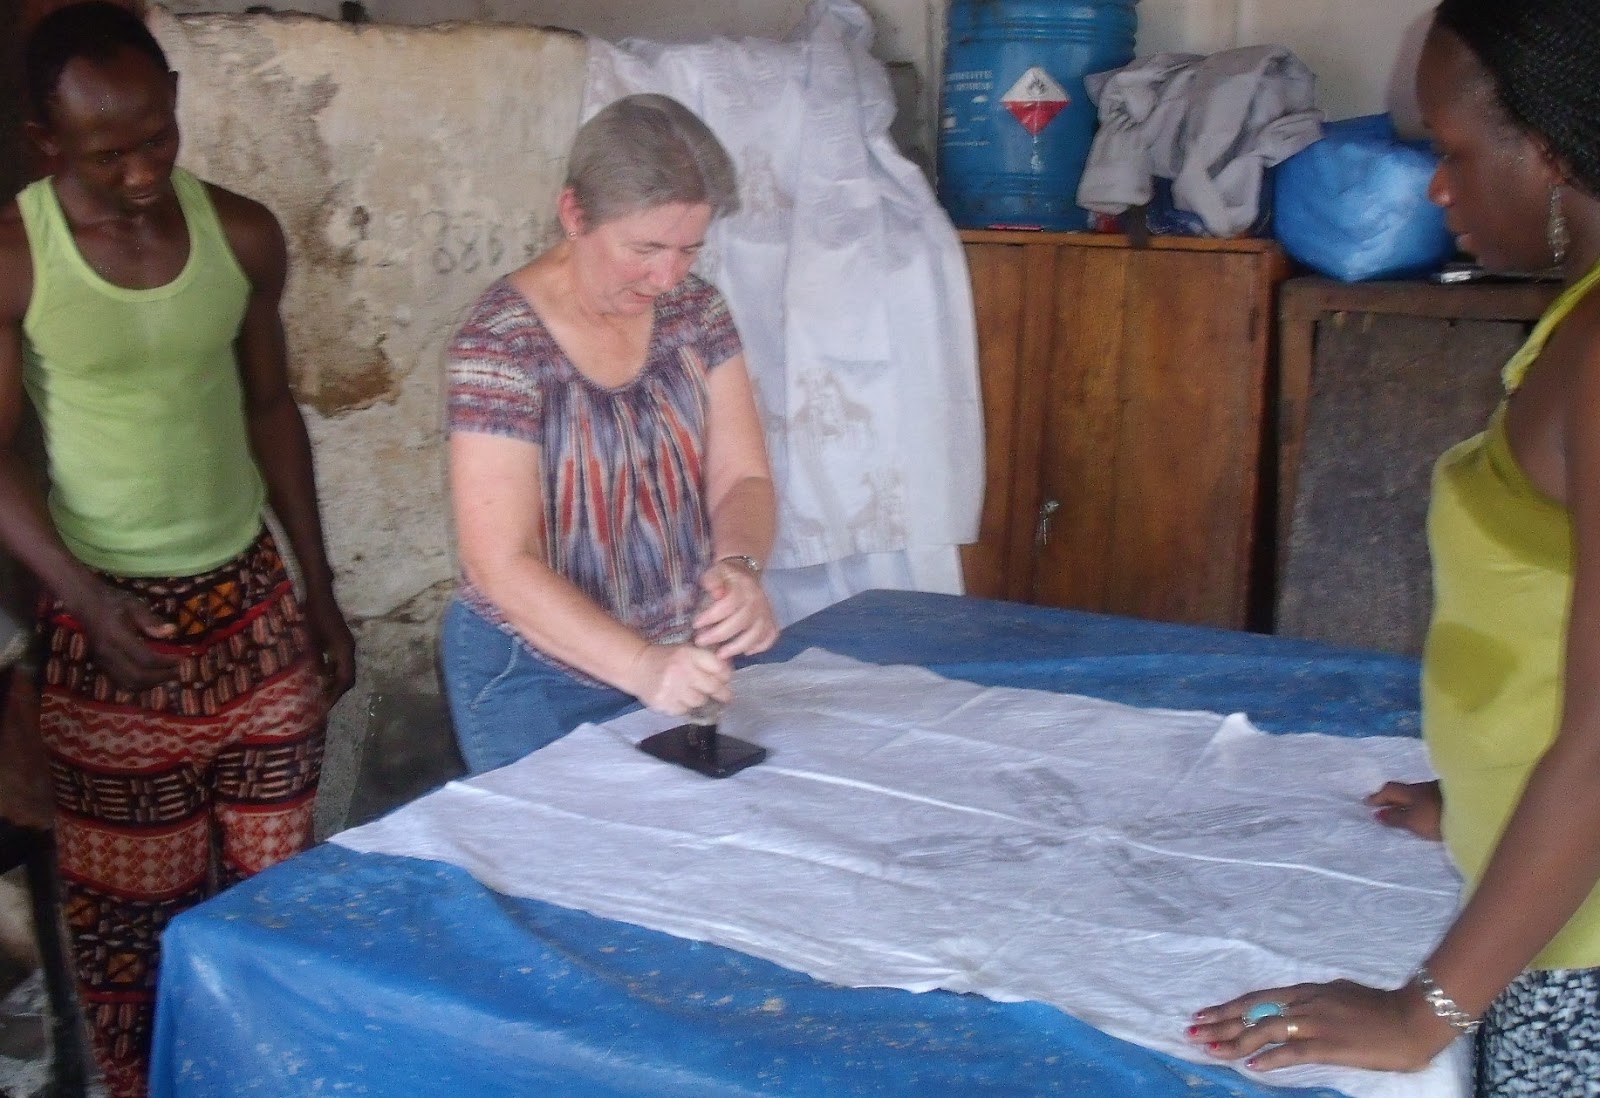
| Once we had picked out out stamps, we took turns stamping our cloth. The man on the left side of the picture would dip the stamp into a pot of melted wax and hand the stamp over, then we could stamp whatever design we had in mind. It was quite the process of dipping, passing, stamping, passing, dipping, etc. |
 |
| This guy is working on more a "free hand" batik. He was dipping something similar to a paintbrush into wax and painting the design on the cloth |
 |
| We were served a tasty lunch of rice with a tomato chicken sauce in the middle of the day. |
.jpg) |
| Lunch on the porch! |
.jpg) |
| Making the dye. |
.jpg) |
| Dyeing. The dye doesn't stick where there is wax on the cloth. |
.jpg) |
| It was interesting to watch the cloth change colors. It looked one color in the dye but when it was lifted out of the tub and hit the air it changed colors. I think that's called oxidation...?!? |
.jpg) |
| One of the fun little lizards running around (though it wasn't so little...probably about 10 inches long....) |
.jpg) |
| Hanging out to dry...my batiks are the ones on the right and left (wish I could take credit for the middle one - I like it! ...but it's not mine!) |
.jpg) |
| These ladies are working the "salad" method of making a Batik. You do one round of dyeing and then you scrunch the material all up and squirt another color of dye on it. |
.jpg) |
| Rinsing them out/getting any remaining wax off - something about this process sets the color. |
.jpg) |
| Hanging up for the 2nd round of drying. |
 |
| Another step in the process is ironing. This guy beats the wrinkles out with a round wooden "mallet" type thing. It's a loud job (there's a video below). It would not win the award for the job I would most like to do. |
.jpg) |
| Once the Batiks are stamped and dyed and dried and ironed, this lady sews them into all sorts of lovely creations - dresses, shirts, duvet covers, curtains, bags, bread baskets, slippers, pants. |
.jpg) |
| Our group with our creations and "Mama" (lady in the blue dress). I didn't realize we were supposed to hold them up. Ha! Catherine's "Be Thankful" creation is an example of the salad technique. |
The plan is to make a table runner and some pillows from my batik. Maybe someday I'll have pictures of the finished products to share. We shall see.
Thanks for sharing this adventure with me -- and this entire adventure of serving with Mercy Ships with our family. What a joy to know we're not in this on our own...
Surely there will more to come!

.jpg)
.jpg)
.jpg)
.jpg)
.jpg)
.jpg)


.jpg)
.jpg)
.jpg)
.jpg)
.jpg)
.jpg)
.jpg)
.jpg)
.jpg)

.jpg)
.jpg)
No comments:
Post a Comment